
Eva Counter Guide | Hero Wars Alliance

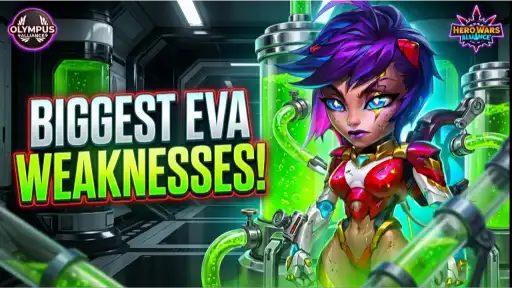
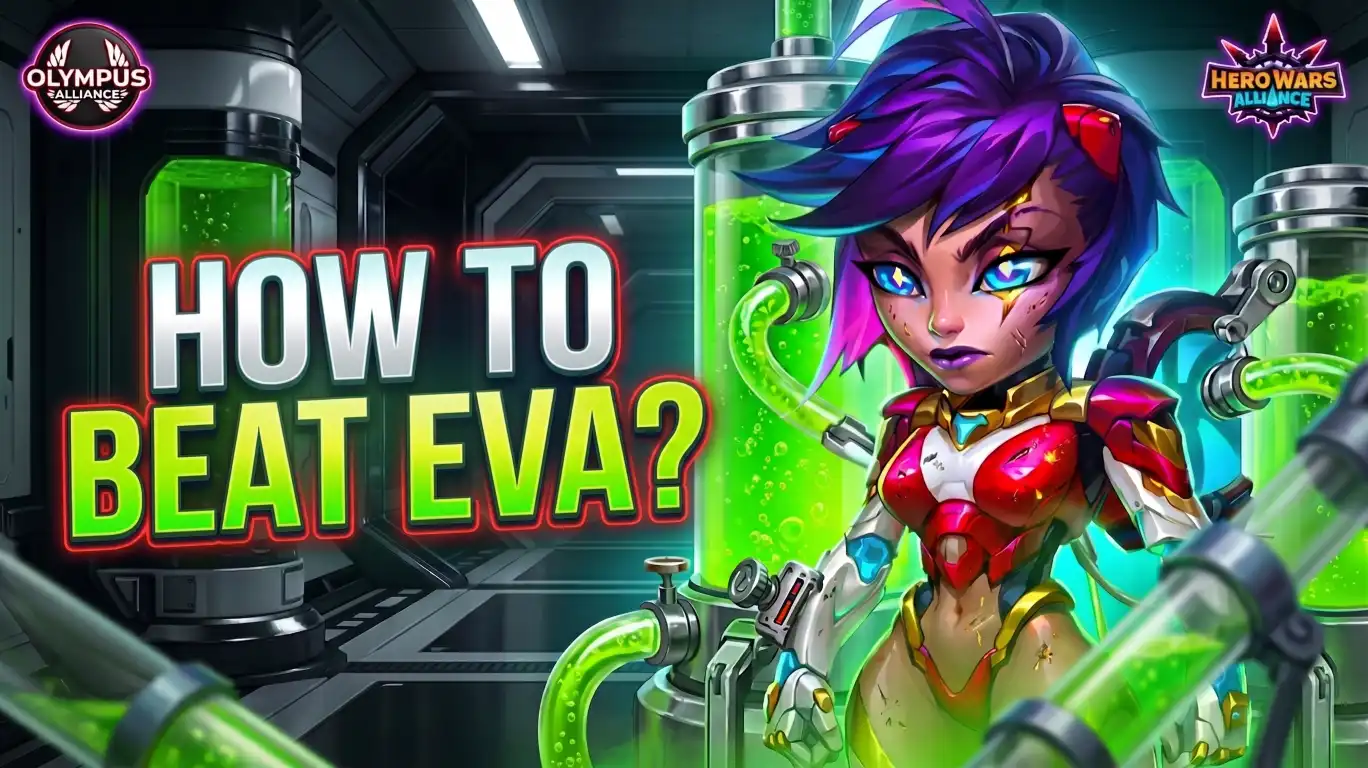
Welcome to this Eva Counter Guide for Hero Wars: Alliance. We are turning one of the scariest Marksmen in the game inside out. The goal is to expose the weaknesses hiding behind all that damage. Eva can absolutely wreck a formation. She punishes huge Health pools and pressures multiple areas of the enemy line at once. On top of that, she snowballs fast whenever she gets to operate from the exact spot she wants. There is one rule we never forget in this game, though: no hero is invincible, and Eva is no exception.
In fact, once you understand what makes Eva so dangerous, the counters start revealing themselves. And the biggest clue of all is her position.
Why Eva Is So Dangerous Before You Counter Her
Eva is a Back Line Marksman, so she loves distance. Her Marksmen Unity scales her damage based on range. The farther she and allied Marksmen sit from the target, the bigger the bonus. At maximum distance it reaches 400% of the original damage. Therefore she wants space, she wants to stay far away, and she wants time to aim.
Here is the key insight, though: Eva’s damage is not really the problem — keeping her alive is. Survivability is the soft spot sitting underneath every strength in her kit, and almost every idea below attacks that single pressure point. So instead of pretending she hits softly, we are going to take her strengths and turn each one against her.
Cleaver — Drag Eva Out of Position
The most obvious way to attack Eva’s positioning is Cleaver, and it all comes down to one skill: Rusty Hook. Cleaver throws his hook at the farthest enemy, pulls that hero toward him, and deals Pure Damage on the way in. Now think about what Eva wants — she wants to be in the Back Line with plenty of distance between herself and her targets. Depending on your formation, that makes her the perfect hook target.
Suddenly Eva is not in the back anymore. She is right there, next to Cleaver and the enemy frontline, and you have flipped one of the most important advantages in her kit. Remember Marksmen Unity: the farther Eva is from her target, the bigger her potential damage bonus. So when Cleaver yanks her forward, he is not only exposing her to danger, he is also shrinking that distance and chipping away at her scaling. Essentially, you attack Eva in two ways with a single skill. You reduce the bonus she earns from range. And you drop a vulnerable Back Line Marksman into the most dangerous part of the map.
Jorgen — Punish the Farthest Position With Leper
Maybe you do not want to bring Eva forward at all. Maybe you want to punish her precisely because she stays in the back — and that is where Jorgen shines. His Leper skill curses the enemy team and marks the farthest enemy as the target of that curse for ten seconds. During that window, Physical Damage taken by the rest of that team is redirected onto the cursed hero.
And what does Eva love to be? Far away. So if she is the farthest hero in that formation, her safe little corner suddenly stops being safe. This is the opposite approach to Cleaver: rather than telling Eva to come here, Jorgen is happy for her to stay exactly where she is, because now she can soak extra pressure through Leper every time her teammates take Physical Damage. Against certain mechanics, sitting in the Back Line is exactly what creates the problem, and Jorgen is a perfect example of that.
Corvus — Turn Eva’s Own Damage Against Her
Corvus takes a completely different angle. Instead of punishing Eva for where she stands, he potentially punishes her for doing the one thing she was built to do: dealing damage. His Altar of Souls summons an Altar behind his team, and while it is active, whenever an enemy damages one of Corvus’s allies, the Altar strikes that enemy back.
It is worth being precise here, because this interaction is often described incorrectly. The Altar is not reflecting Eva’s exact damage back at her. Instead, Eva deals damage to a Corvus ally, and that damage event triggers the Altar to retaliate against Eva. In other words, her offensive pressure ends up creating pressure against herself. Once again, the weakness under fire is survivability — Eva needs to stay alive long enough to unload her huge numbers, and Corvus simply hands her one more thing to survive while she tries.
Kayla — Invade the Back Line Directly
What if you do not want to move Eva or wait for her attacks, and you would rather just go after her? Then Kayla becomes extremely interesting. Her Acrobatics skill lets her jump into the middle of the enemy team whenever her Health is above 40%, which already creates a problem — Eva’s position is supposed to protect her, but Kayla does not need Eva to leave it. She invades the formation herself.
Then comes Inner Flame. After Kayla uses her second skill, she begins burning, dealing Pure Damage to herself and to nearby enemies every half second. Now picture Eva sitting in the back trying to keep her distance, while Kayla lands right beside her with repeated Pure Damage ticking away. Where Cleaver removes Eva from her safe area, Kayla simply moves into it. Her Sacrifice mechanics let her manipulate her own Health as she dives and burns. So she is not relying on Eva’s Impossible Shot to bail her out. Instead, she deliberately creates chaos around the heroes Eva wants protected. Repeated Pure Damage every half second is the last thing a survivability-limited Marksman wants sitting next to her.
Pure Damage — A Broader Direction to Test
That is why this Eva Counter Guide keeps circling back to survivability, and it points toward a broader tool as well: Pure Damage. We have already seen it show up through Cleaver and Kayla, but you can also start exploring heroes like Lian, Maya, and Kendle. To be clear, this does not mean every Pure Damage hero automatically beats Eva — Hero Wars does not work like that. Composition, matchup, and timing all still matter.
Even so, Pure Damage is absolutely one of the directions worth testing when you want to pressure Eva compositions, because it attacks the same fundamental weakness. She can put up extraordinary offensive numbers, yet if you generate enough pressure before she fully exploits that damage, the whole fight can swing the other way.
Control and Stun — Attack the Three-Second Aim
Now for the most ironic counter of all: Control, and especially Stun. Eva does not simply press a button and instantly fire her signature attack. With Impossible Shot she aims for three full seconds first, and those three seconds are a window. If you land the right Control at the right moment, you can interfere with Eva while she is preparing one of her most dangerous attacks.
This is exactly why timing matters more than volume. You do not want to dump every Control effect onto the field randomly — you want the Stun to interrupt that critical aiming moment, so you shut down the mechanic before the damage ever arrives. There is something almost funny about using Control to stop a Marksman from doing her job. But there is a very big catch, and it deserves its own section.
The Antivirus Relic Changes Everything
Eva’s Relics can rewrite this entire conversation. At Legendary Relic level one, she gains Antivirus. Every eight seconds she receives an effect that removes all Control effects and blocks new ones from being applied for five seconds. So the tidy plan of “just Stun Eva” suddenly is not so tidy, because there are windows where Antivirus wipes your Control and locks out anything new.
| Counter | Key Mechanic | Weakness It Attacks |
|---|---|---|
| Cleaver | Rusty Hook pulls the farthest enemy forward with Pure Damage | Distance scaling & positioning |
| Jorgen | Leper redirects Physical Damage onto the farthest hero | Back Line positioning |
| Corvus | Altar of Souls retaliates on her damage events | Survivability |
| Kayla | Acrobatics dive plus Inner Flame Pure Damage | Back Line safety |
| Pure Damage (Lian, Maya, Kendle) | Damage that bypasses her defenses | Survivability |
| Control / Stun | Interrupts the three-second Impossible Shot aim | Aiming window (beware Antivirus) |
If you build around Control to break Eva’s aiming, then timing becomes even more important once she owns this Relic. You need to know when she is protected, when that protection lapses, and you have to stop treating Control like a button you can mash on cooldown. Mechanically the relationship is very clean: Eva has an aiming period that opens her up to Control, and one of her Relics hands her periodic immunity to it. That upgrade makes her noticeably harder to shut down through Stuns and similar effects.
Final Thoughts on This Eva Counter Guide
The real lesson is simple: do not hunt for one magical button that beats Eva. Understand why she is strong, then attack the conditions she needs. Does she crave distance? Cleaver erases it and drags her forward. Her farthest-back position becomes a liability the moment Jorgen flips that corner with Leper. Nonstop damage output? Corvus punishes those events through Altar of Souls. Meanwhile the safety of the Back Line vanishes as soon as Kayla dives straight in with Pure Damage. And because survivability is her weak point, heroes like Lian, Maya, and Kendle open a whole extra lane to explore.
On top of all that, her three-second aim on Impossible Shot invites well-timed Control — right up until Antivirus flips on and forces you to think about timing instead of spamming Stuns. So the takeaway from this Eva Counter Guide is not that Eva is weak, because she absolutely is not, and her damage really is ridiculous. You beat her by understanding her: her position, her distance, her survivability, her aiming time, and the protection she gains as her Relics develop. Now it is your turn to test these interactions and, crucially, to watch the timing — because as Eva grows, the gap between controlling her at the right moment and the wrong one can decide the whole fight.
Keep Building Your Eva Roster
- Eva Complete Build Guide
- Eva Team Building Guide
- Fields of Tomorrow Guide
- Nebula Rework and Relics Explained
Want to test these Eva counters with players who theorycraft this stuff daily? Come trade formations, share results, and get help in our community.