Mojo Low-Cost Build Guide: Hero Wars Alliance
Introduction: Unlocking the Hidden Power of Mojo
In Hero Wars Alliance, some heroes quietly shape the battlefield without attracting immediate attention. Mojo is one of those heroes. Often underestimated or misunderstood, he might seem unremarkable at first glance, yet he silently dictates the pace of fights, empowers allies, and punishes enemies who rely on energy manipulation or prolonged engagements. For players aiming to achieve strong results without overspending, the Mojo low-cost build guide offers a unique solution that consistently delivers value across multiple stages of progression. Understanding his mechanics and building him efficiently can turn Mojo from a subtle contributor into a decisive force.
Who is Mojo?
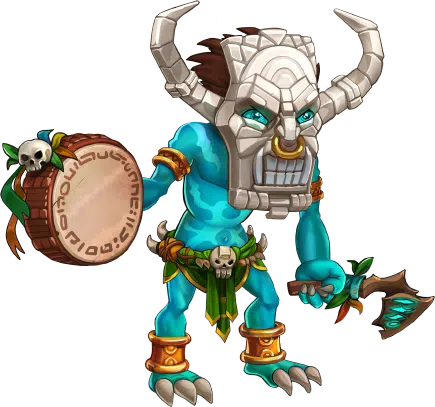
Mojo is an intelligence-based mage from the Nature faction, stationed in the middle line, with a primary focus on magic attack. At first, his kit might appear unusual: his basic attack is physical, three of his abilities scale with magic attack, and one depends solely on skill level. Despite this apparent complexity, Mojo’s design ensures he remains relevant in virtually any scenario. Particularly for players who want maximum impact without draining their resources.
He is not just a damage dealer. Mojo functions as a hybrid engine, dealing sustained magic damage, controlling energy flow, providing percentage-based healing, and punishing enemies that depend on energy gain or energy theft. When built correctly, he begins influencing battles earlier than most mages, making him a highly efficient and strategic choice for both Nature-focused and hybrid teams.
Understanding Mojo’s Skills and Mechanics: Mojo Low-Cost Build
At the heart of Mojo’s kit lies control through timing and sustained pressure. His signature ability, Totem of Wrath, allows him to summon a totem that locks him in place while attacking the two nearest enemies. This focused pressure targets the frontline, delivering heavy magic damage over time. Although Mojo remains stationary during this period, it is not a vulnerability but a deliberate commitment that ensures his totem consistently threatens key enemies.
Healing Spirits forms another crucial part of his toolkit. These spirits heal allies for a percentage of their maximum health, restoring five percent each time. Beyond raw healing, this skill accelerates energy: fully healed allies gain ten percent extra energy if they are non-Nature, and twenty percent if they are Nature. Simultaneously, Mojo gains a Wrath of Spirits charge, creating a powerful synergy that allows Nature allies to ult faster, chain abilities more reliably, and dominate tempo throughout the battle.
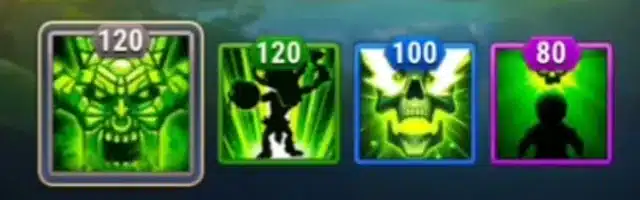
Cursed Bones adds another layer of control. This skill specifically targets enemies attempting to gain or steal energy, interrupting critical rotations and punishing heroes that rely on fast ultimates or energy loops. By triggering at the precise moment when enemies try to spike, Mojo effectively shuts down key strategies and ensures your team maintains momentum.
Finally, Hex defines Mojo’s sustained threat in long fights. Every two seconds, it deals magic damage and marks the enemy who received the most damage during that interval. The mark channels damage equal to a percentage of Mojo’s current health, always between twenty and eighty percent, and continues to inflict damage even if Mojo falls. This mechanic makes him dangerous in drawn-out engagements, as his presence persists and forces enemies to pay a continuous cost for focusing him down.
Building Mojo for Maximum Efficiency: Mojo Low-Cost Build
Glyphs
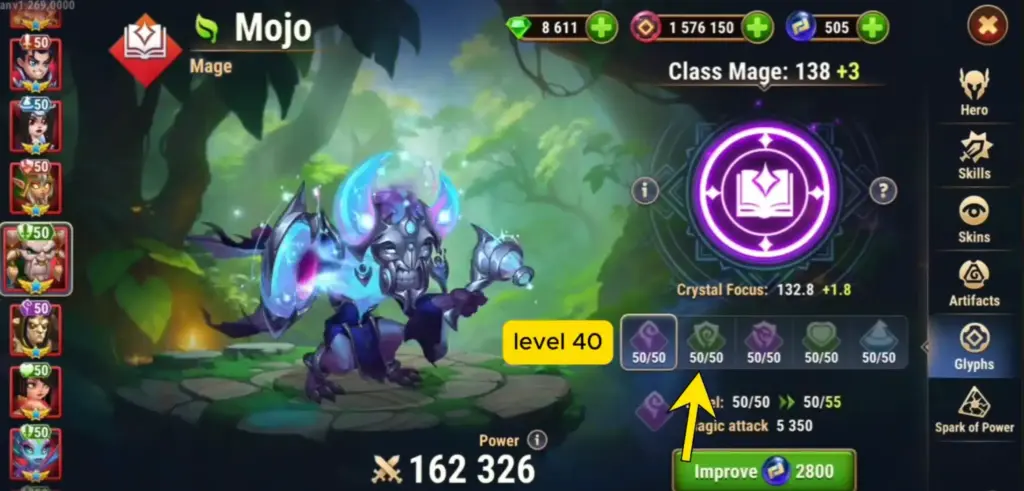
Building Mojo efficiently requires focus and prioritization to unlock his full potential without overspending. Glyphs should ideally reach level forty, striking the perfect balance between cost and effectiveness. Magic attack is the primary priority because it scales three of his abilities directly. Health ensures he survives long enough for Hex and Totem of Wrath to make an impact, while intelligence further enhances his magic attack and adds a layer of magic defense. Levels beyond forty are purely luxury and unnecessary for early performance.
Hero Level
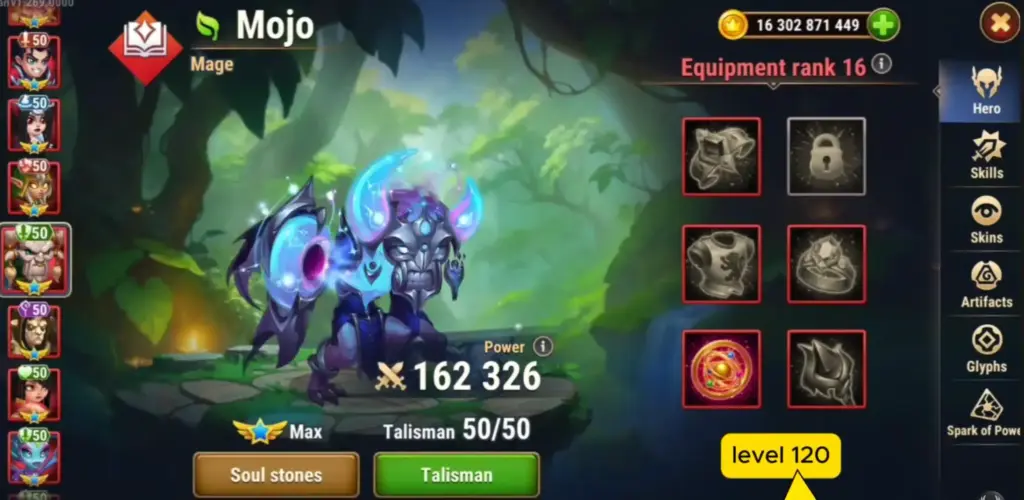
Mojo must reach hero level 120 to fully utilize his talismans, which are pivotal to his kit. His first talisman, providing intelligence and magic attack, delivers tremendous value and can rival the impact of fully built skins. The second talisman, though currently unavailable in the Eternal Frontier shop, remains a long-term goal.
Sparks of Power
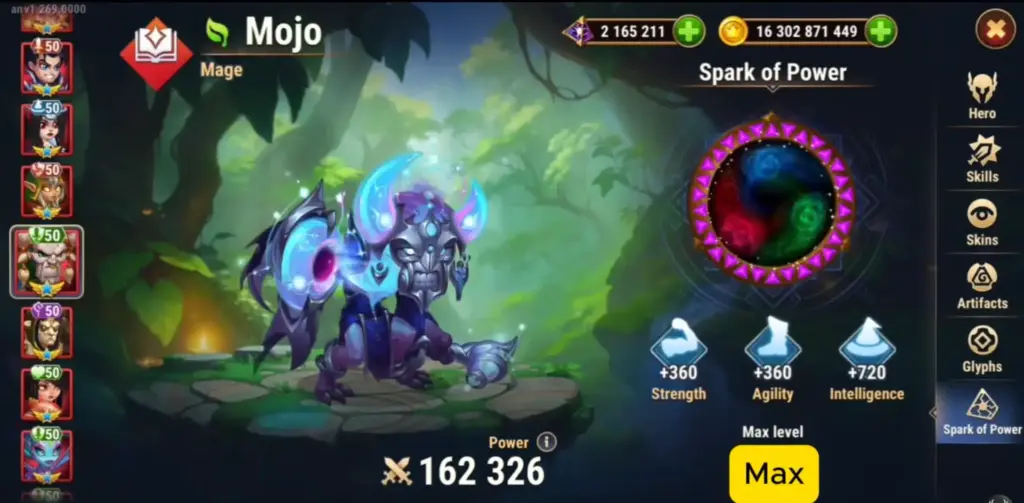
Sparks of Power are essential to maximize his effectiveness, increasing armor, health, intelligence, and magic attack. Every stat contributes to his overall performance, making full investment in Sparks highly beneficial.

Evolution level is another area to approach strategically. Five stars is sufficient, while absolute star can wait. Soul stones are available through campaign and heroic chests, making full evolution a gradual, long-term project.
Artifacts
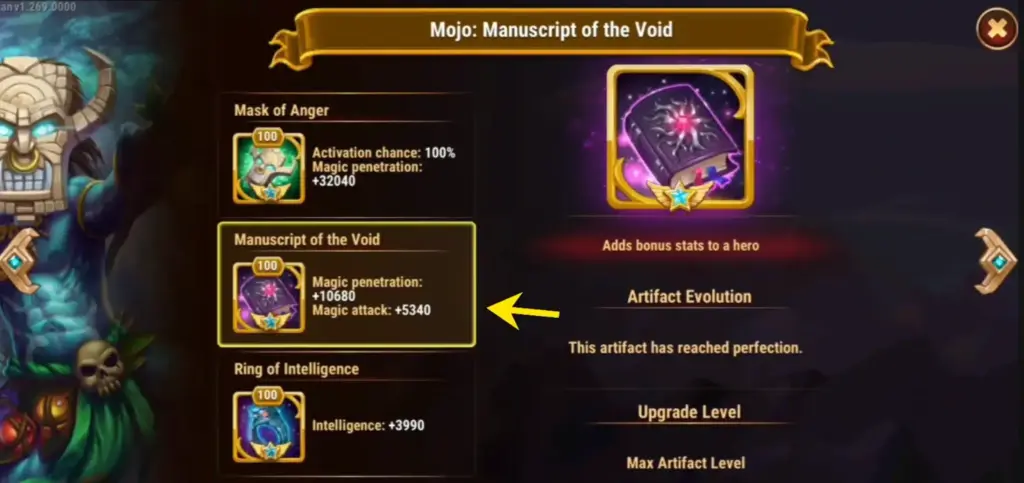
Artifacts must be carefully prioritized. Start with the Manuscript of the Void, which enhances three of Mojo’s skills and accelerates his battlefield role. The next focus is the Ring of Intelligence. Other artifact upgrades, including weapons, can wait if resources are limited. Skins follow a simple principle: prioritize magic attack first. The first skin must be fully maxed before moving to any additional skins. Other stats, such as intelligence, magic defense, or health, are optional and can be developed later.
Skills
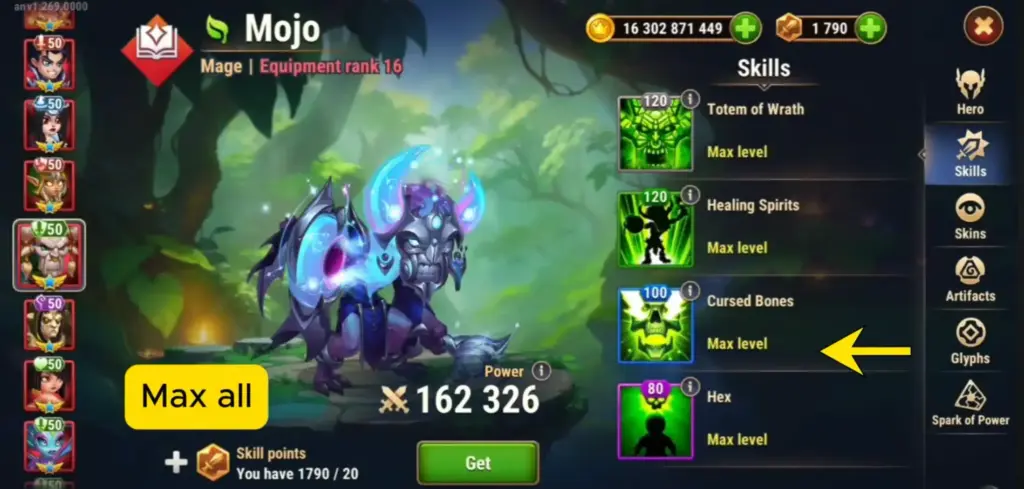
Skills should all be maximized. Mojo’s kit relies heavily on skill scaling, particularly Hex and Healing Spirits, and there are no shortcuts. When built with these priorities in mind, Mojo begins delivering results earlier than most players anticipate. He doesn’t require perfect gear, maxed evolution, or stacked skins—he simply needs a focused, strategic build.
Conclusions on Mojo Low-Cost Build
Mojo does not rely on flashy one-shot moments to prove his worth. Instead, he excels through consistency, inevitability, and resource efficiency. His healing accelerates ally energy gain, his Hex ensures persistent damage even after he falls, and his Totem and Cursed Bones apply continual pressure on enemy formations. By emphasizing patience, positioning, and tempo control, Mojo becomes an engine that powers Nature teams, hybrid compositions, and drawn-out strategies.
By building him according to these priorities, players unlock Mojo’s full potential while saving resources. He becomes a reliable contributor across multiple game modes and stages of progression, quietly carrying immense value for teams that understand how to harness his mechanics.
FAQs: Top Mojo Low-Cost Build Questions
Mojo is a hybrid engine who deals sustained magic damage, manipulates energy flow, provides percentage-based healing, and punishes enemies relying on energy gain or theft.
All skills are essential, but Totem of Wrath, Healing Spirits, Cursed Bones, and Hex form the core of his kit. Hex and Healing Spirits scale heavily with skill level, making them critical for long-fight dominance.
Magic attack comes first, health second, and intelligence third. Level forty is the optimal balance between effectiveness and resource efficiency.
Yes. The first talisman, which boosts intelligence and magic attack, provides tremendous value and can rival the effect of fully built skins.
No. Five-star evolution is sufficient. With prioritized glyphs, talismans, artifacts, and the first magic attack skin, Mojo can perform at a high level without over-investing.
Through Healing Spirits, Mojo accelerates ally energy gain, particularly for Nature heroes, allowing faster ultimates, smoother ability chains, and consistent battle control.