Astaroth Complete Breakdown | Hero Wars Alliance

This Astaroth Complete Breakdown covers everything you need to know about one of the most iconic tanks in Hero Wars Alliance. Astaroth has survived metas, resisted power creep, and continued protecting teams year after year — not because of flashy damage numbers, but because of something far more important: keeping everyone else alive.
The Astaroth Complete Breakdown Starts With Physical Defense
One of the easiest ways for a battle to collapse is when concentrated physical damage suddenly lands on a fragile ally. Positioning and frontline cover don’t always help — one aggressive sequence can end the fight instantly.
Astaroth refuses to allow that. Part of his protection comes from his Veil of Flames, which contributes to the team’s overall defensive structure. On top of that, his weapon artifact provides armor to the entire team — a consistent, passive boost that quietly saves lives every battle.
Demon’s Allegiance — The Core of His Kit
This is where Astaroth becomes truly special. Demon’s Allegiance constantly monitors the ally with the lowest current health. The moment danger appears, he redirects part of that incoming physical damage to himself — and not only does he absorb it, part of that transferred damage is also reduced.
Think about what that means in practice. What could have been a devastating hit on a fragile backline hero suddenly becomes something Astaroth absorbs much more comfortably. That completely changes how teams survive concentrated physical pressure — especially against opponents trying to eliminate a single target as fast as possible.
Energy Drain — Astaroth’s Most Underrated Tool
While Astaroth protects the front, he never ignores the back. Periodically, he burns accumulated energy from the furthest enemy — and this effect is much stronger than many players give it credit for.
Energy controls ultimates. Ultimates control tempo. And tempo wins battles. Heroes that depend on reaching their ultimate quickly start falling behind. Supports get delayed. Counterattacks arrive later. Entire team cycles become disrupted. That means Astaroth isn’t simply protecting his allies — he’s actively slowing the enemy’s ability to fight back.
Resurrection — His Most Powerful Moment
Eventually, even the strongest defense breaks. A key hero falls. And this is where Astaroth brings one of the most desired abilities in Hero Wars Alliance: resurrection.
Once per battle, death stops meaning the end. Astaroth can bring back a fallen ally — or even himself. Battles are often decided by a single moment: one dead damage dealer, one lost support, one mistake. Astaroth turns that moment into another chance. What looked lost becomes stable again. That alone makes him one of the safest tanks to invest in.
Best Astaroth Synergies in Hero Wars Alliance
Heroes become even stronger through synergy. Here’s a quick look at the combinations that make Astaroth genuinely dangerous:
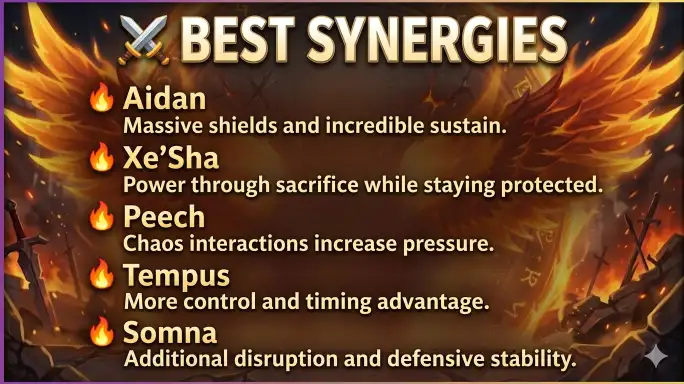
Astaroth and Aidan
This duo is one of the strongest defensive combinations in Hero Wars Alliance. Because Astaroth naturally carries a massive health pool, Aidan creates extremely powerful shields from it. At the same time, Aidan heals efficiently and benefits from the Chaos interaction. Together they build enormous resistance and allow teams to survive situations that would normally collapse.
Astaroth and Xe’Sha
This synergy becomes very interesting in longer fights. Xe’Sha brings destruction, but she has low survivability — which is precisely what Astaroth covers. Meanwhile, Xe’Sha’s mechanics help increase the value generated through Astaroth’s first skill. She delivers the damage; he ensures she lives long enough to do it.
Astaroth and Peech
Chaos heroes standing at the front naturally improve Peech’s offensive pressure. Therefore, with Astaroth holding the line, she can punish opponents more aggressively without losing the anchor that keeps the team together.
Astaroth, Tempus, and Somna
This combination creates something many players love: control, reduction, and survival layered together. Tempus manipulates timing. Somna interferes with enemy actions. And Astaroth absorbs the pressure. The result is a team that becomes extremely difficult to break.
Why Astaroth Still Belongs in Hero Wars Alliance
After so many years, the reason Astaroth continues finding a place in the game comes down to one thing: stability. He doesn’t win by being explosive. Instead, he wins through protection, through absorbing pressure, and through refusing to let his team disappear when things get hard.
That’s the core of this Astaroth complete breakdown — his value has never truly depended on the current meta. Physical damage redirect, energy disruption, and a once-per-battle resurrection give him a unique toolkit that stays relevant regardless of what’s sitting across from him.
The fallen angel keeps standing. And chances are, he’ll keep standing for a long time to come.
More Hero Wars Alliance Guides
Want to talk Astaroth builds and team comps with the community? Come join us on the Olympus Alliance Discord — we’d love to hear your setups.